


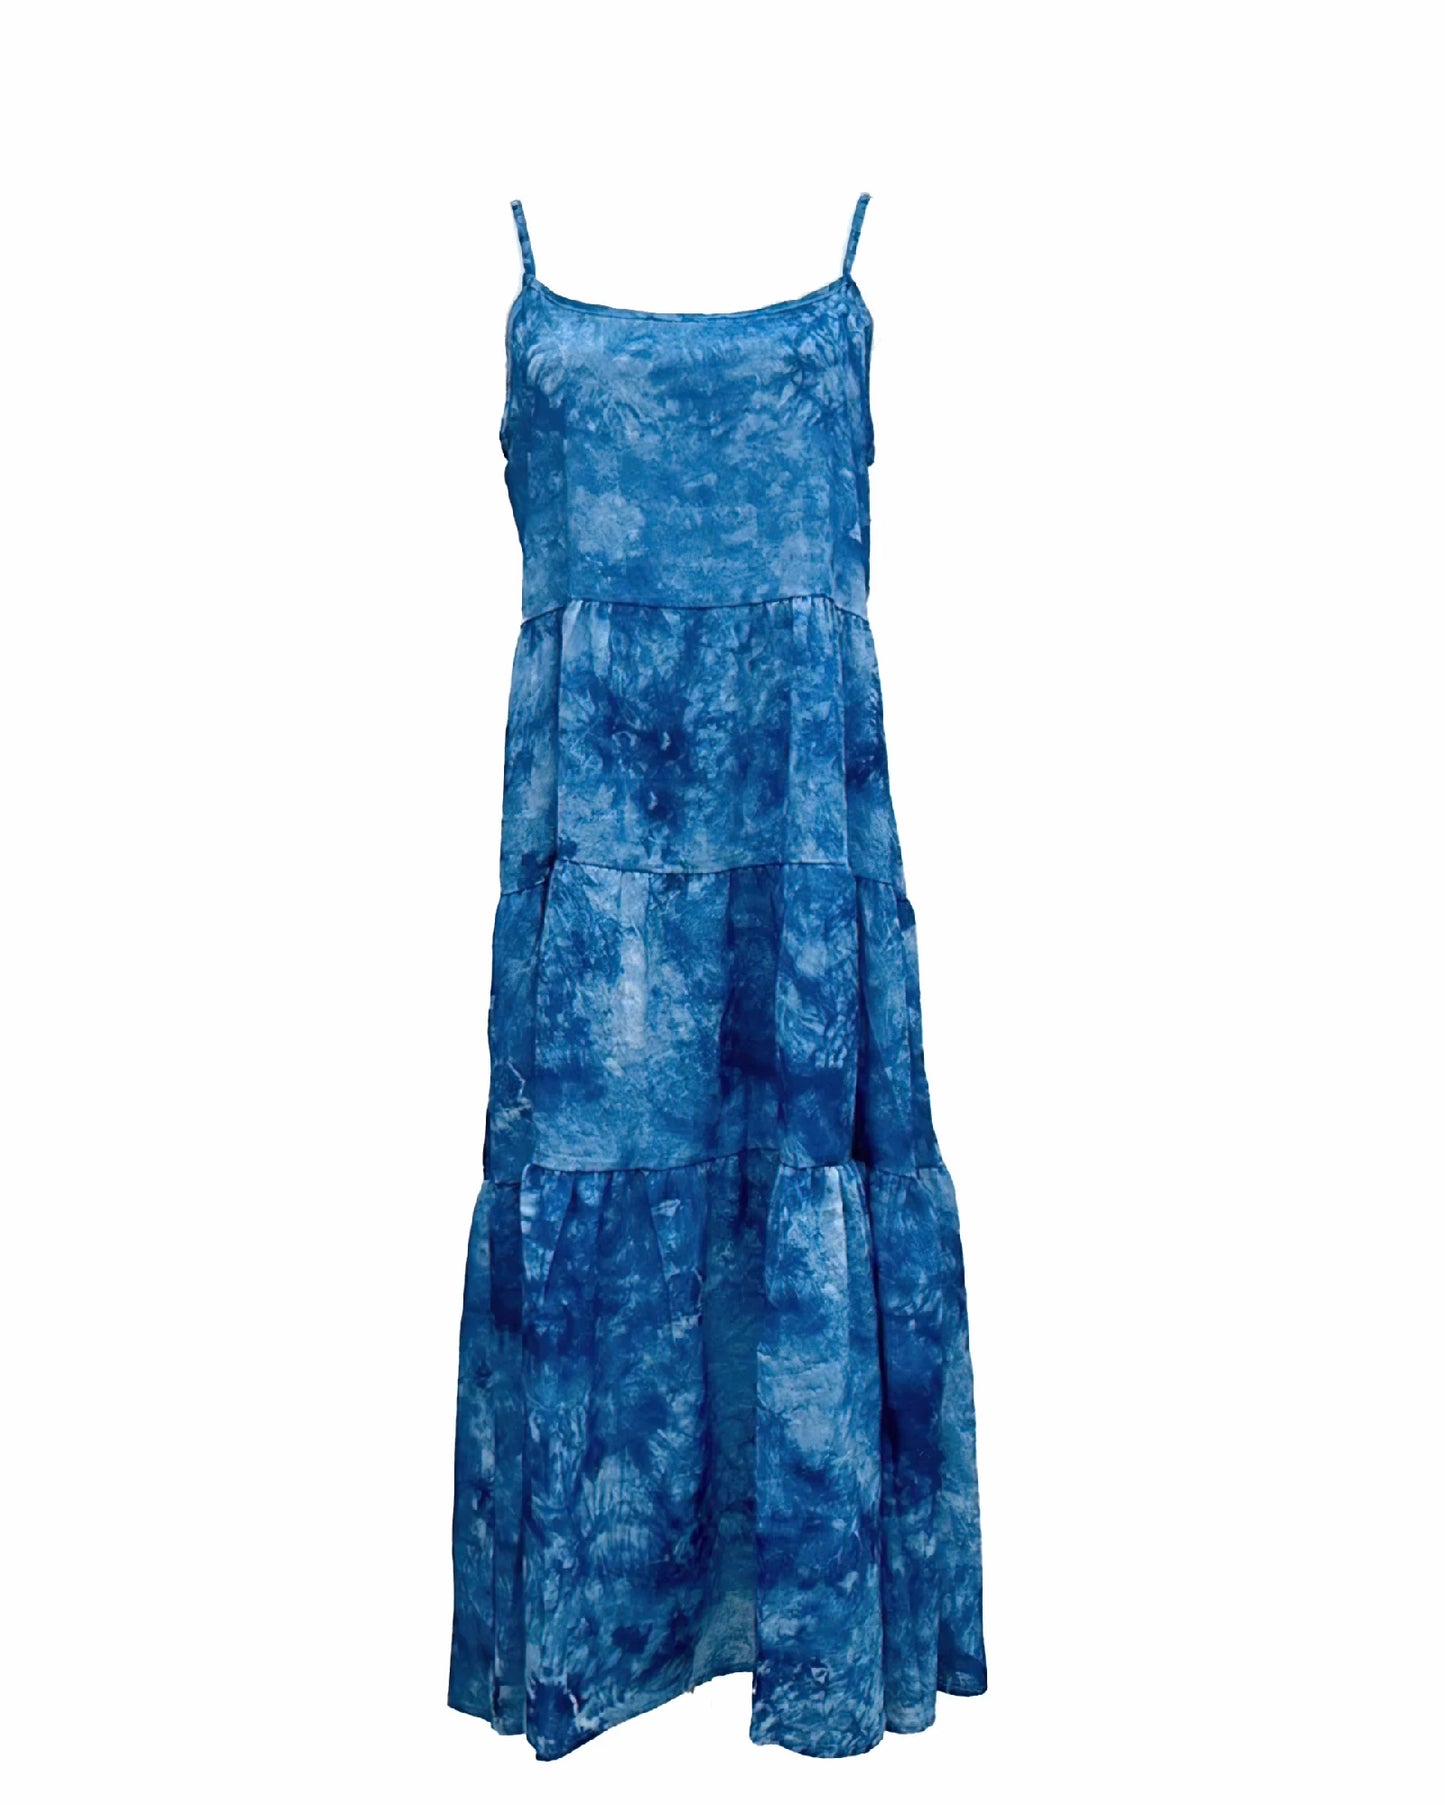
Mystic Waves Boho Tie-Dye Maxi Dress
Mystic Waves Boho Tie-Dye Maxi Dress
픽업 사용 가능 여부를 로드할 수 없습니다.

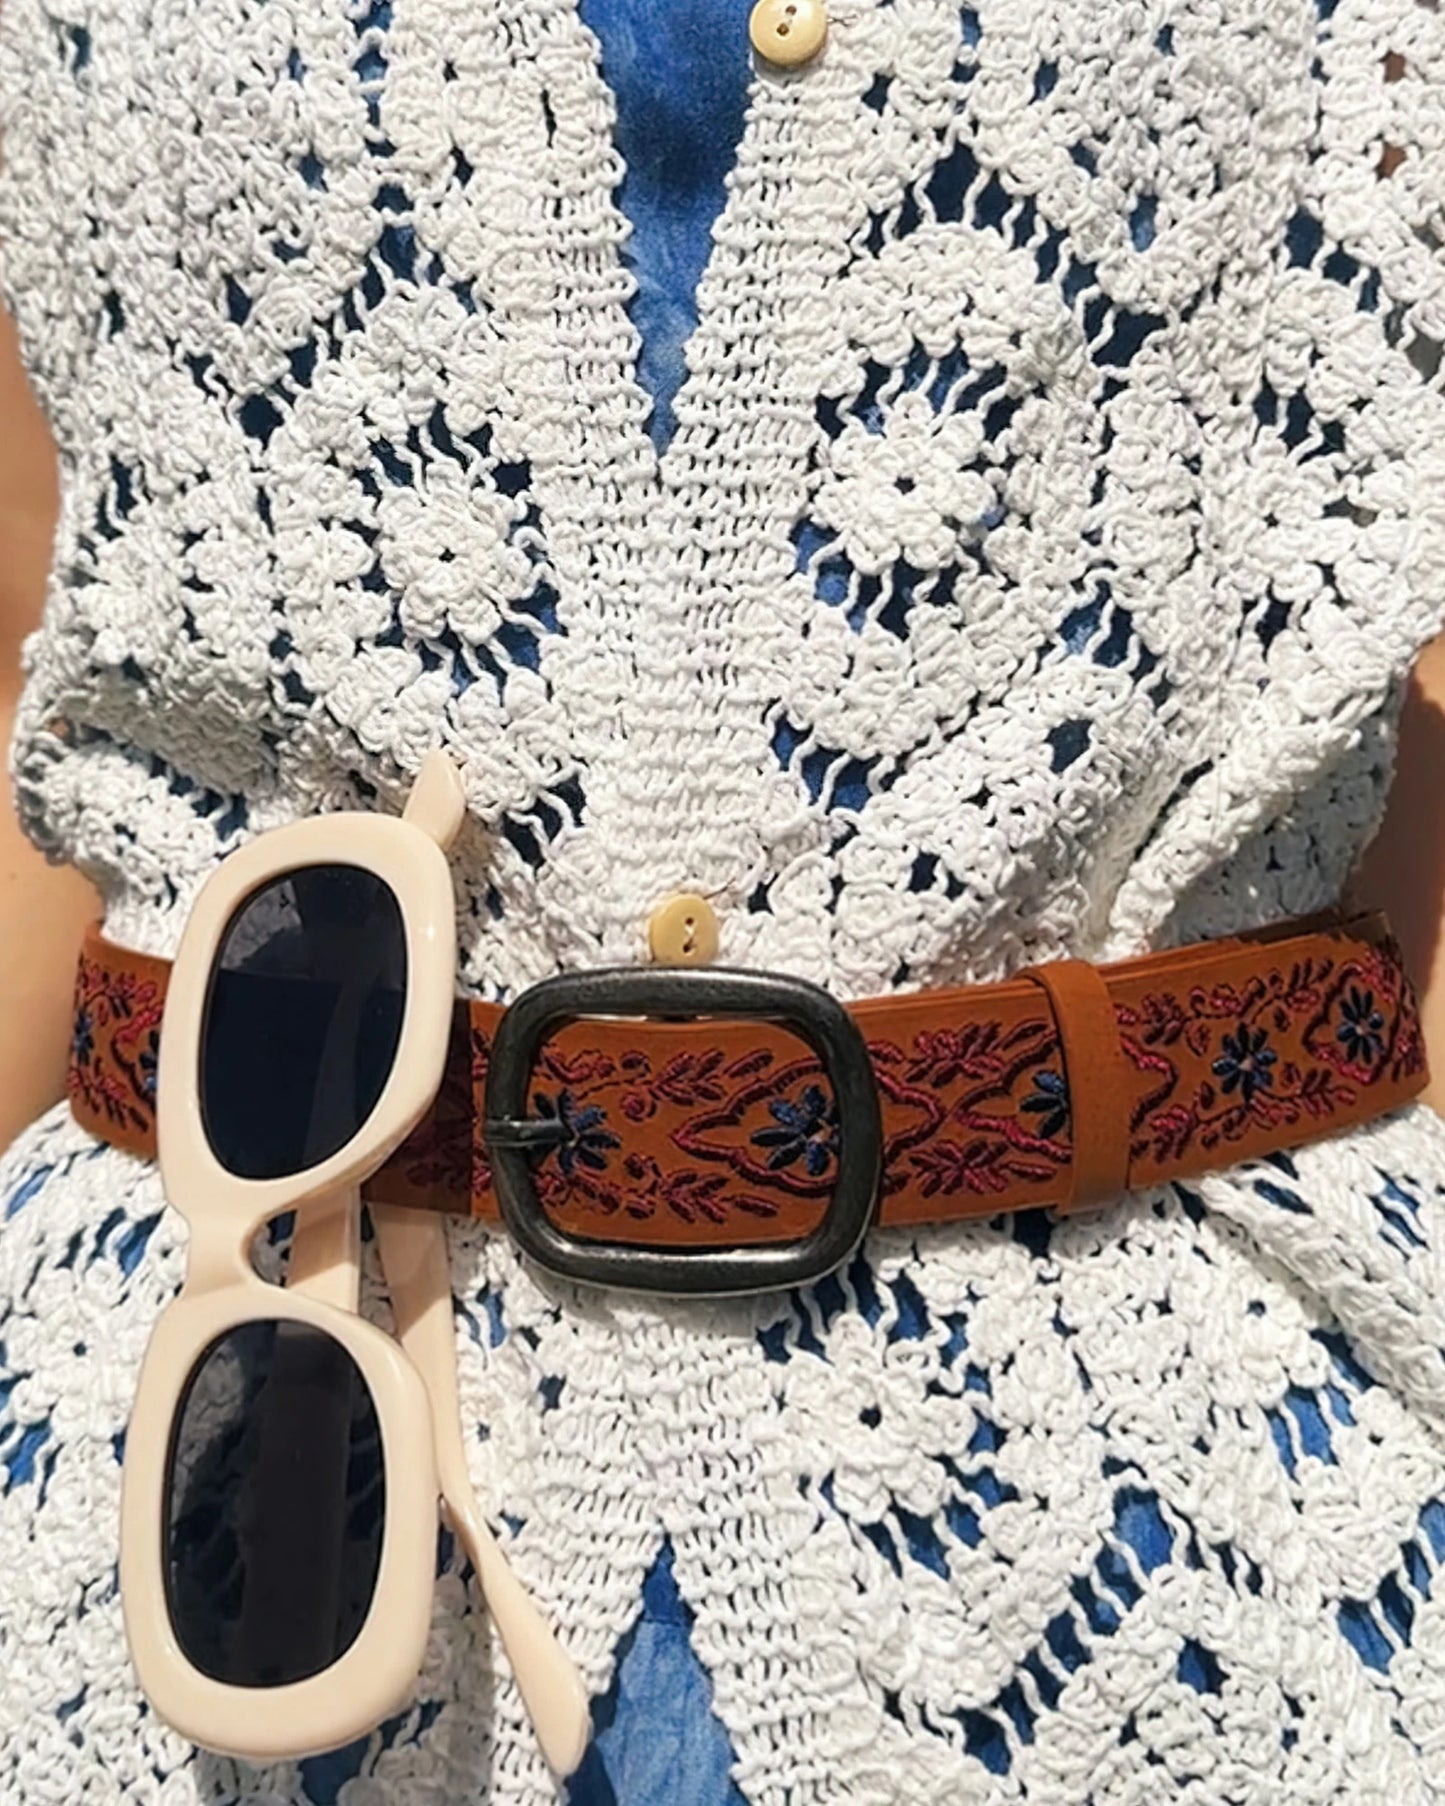
Buy Model’s Look
Installation Guide
Installation Guide
![]()
🛠️ Motorcycle Dash Cam Installation Guide (Front & Rear Cameras)
📍Step 1: Connect the Power Cable
Access the Battery
The power source for most motorcycles have the battery. First, unscrew both side panels and remove the battery cover to locate the battery.
Check the Voltage
Set a multimeter to 20V DC. Connect the black (negative) probe to the battery’s negative terminal. Use a test light to check each fuse—you're looking for a 12V ACC (Accessory) fuse.
Connect the Ground Wire
Loosen the screw on the battery’s negative terminal. Attach the ground (negative) wire from the main unit and tighten it securely.
Tap into the ACC Fuse
Remove the identified 12V ACC fuse and connect the power cable to it using a fuse tap. This completes the power connection.
Power On the Main Unit
Plug in the dash cam main unit and confirm that it powers on properly.
📍Step 2: Route the Cables
Pull the power cable from the battery compartment and route it underneath the fuel tank.
Secure the cable along the way using zip ties or clips.
Bring the cable out near the front of the bike for camera connection.
📍Step 3: Install the Front and Rear Cameras
Install the Front Camera
Apply the included 3M adhesive to the base of the front camera.
Mount the camera to your desired position at the front of the bike.
Press firmly to ensure the adhesive sticks well.
Route the camera cable neatly along the front frame and secure it.
Install the Rear Camera
Repeat the same steps using 3M adhesive to mount the rear camera.
Route the cable internally through the frame toward the battery area, similar to how the power cable was routed.
Mount the Main Unit
Use the provided mounting bracket or ball rod to install the main unit next to the handlebar or armrest area.
Tighten the bracket using a wrench to ensure it’s firmly secured.
Connect Camera Cables
The main unit ports are typically labeled “F” for Front and “R” for Rear.
Plug the front and rear camera cables into their corresponding ports.
From ldea to Success
From ldea to Success
we don't stop there; continuous optimization and wireless updates set us apart.
Your opinions matter – share your thoughts on features and stability. Join our collaborative journey, where your ideas shape an extraordinary product. Be more than a backer; become a vital part of our community!

2017년에 설립된 저희의 비전은 미묘함과 강인함을 모두 구현하는 가방을 만드는 것입니다. 저희는 모든 디테일에 실용적인 접근 방식을 반영하여 최고급 소재만 사용하는 데 전념합니다. 이 빠르게 움직이는 세상에서 저희는 흠잡을 데 없는 장인 정신과 우아함이 함께하는 제품을 만드는 데 전념합니다. 미니멀리스트와 모더니스트 원칙에서 영감을 얻어 전통과 혁신 사이의 완벽한 균형을 이루고 깨끗한 라인과 세련된 윤곽으로 시대를 초월한 실루엣을 디자인하기 위해 노력합니다.
당신의 여행을 내가 책임지겠습니다
저희 컬렉션은 분별력 있는 미학과 독특한 디자인 관점을 가진 헌신적인 팀에 의해 제작되었습니다. 주로 여성용 핸드백을 전문으로 하는 저희는 세련되면서도 미묘하게 복고적인 틈새 시장에 집중하여 고객에게 실용적이고 스타일리시하며 독특한 현대적 가방을 제공하고자 합니다. 가죽 제품 산업에서 9년째를 맞은 지금, 저희를 계속 인도하는 열정에 힘입어 저희는 독립적인 제조 시설을 자랑스러워하며 최고의 제품만을 생산하겠다는 저희의 헌신에 변함없이 헌신하고 있습니다.
SHIPPING & RENTURN
SHIPPING & RENTURN
Your shipping method can be selected atcheckout. Costs will be calculated prior topayment and will vary by order depending on anumber of factors,including but not limited to:item count, package weight, delivery ZlP code.and selected shipping method.
Free shipping on orders over $99
Return:
We are working to ensure you will have the highest quality product we can offer! We will accept returns and exchanges of items in new and unuse dcondition with in 30 days of receipt with valid proof of purchase.
 Tie-dye patterns are created through variations in tension during the binding process, causing dyes to soak the fabric unevenly.
This results in rich, layered colors and soft, organic textures.
With skilled techniques, each piece becomes vibrant, detailed, and naturally artistic—offering a charm and cultural depth that modern prints can’t replicate.


HEAVEN-SENT FAVORITES
-
Futuristic
정가 $59.90 USD정가단가 단위 -
BEN Sunglasses
정가 $59.00 USD정가단가 단위


